Wall Plate Cable Management: What It Is and Why You Need One
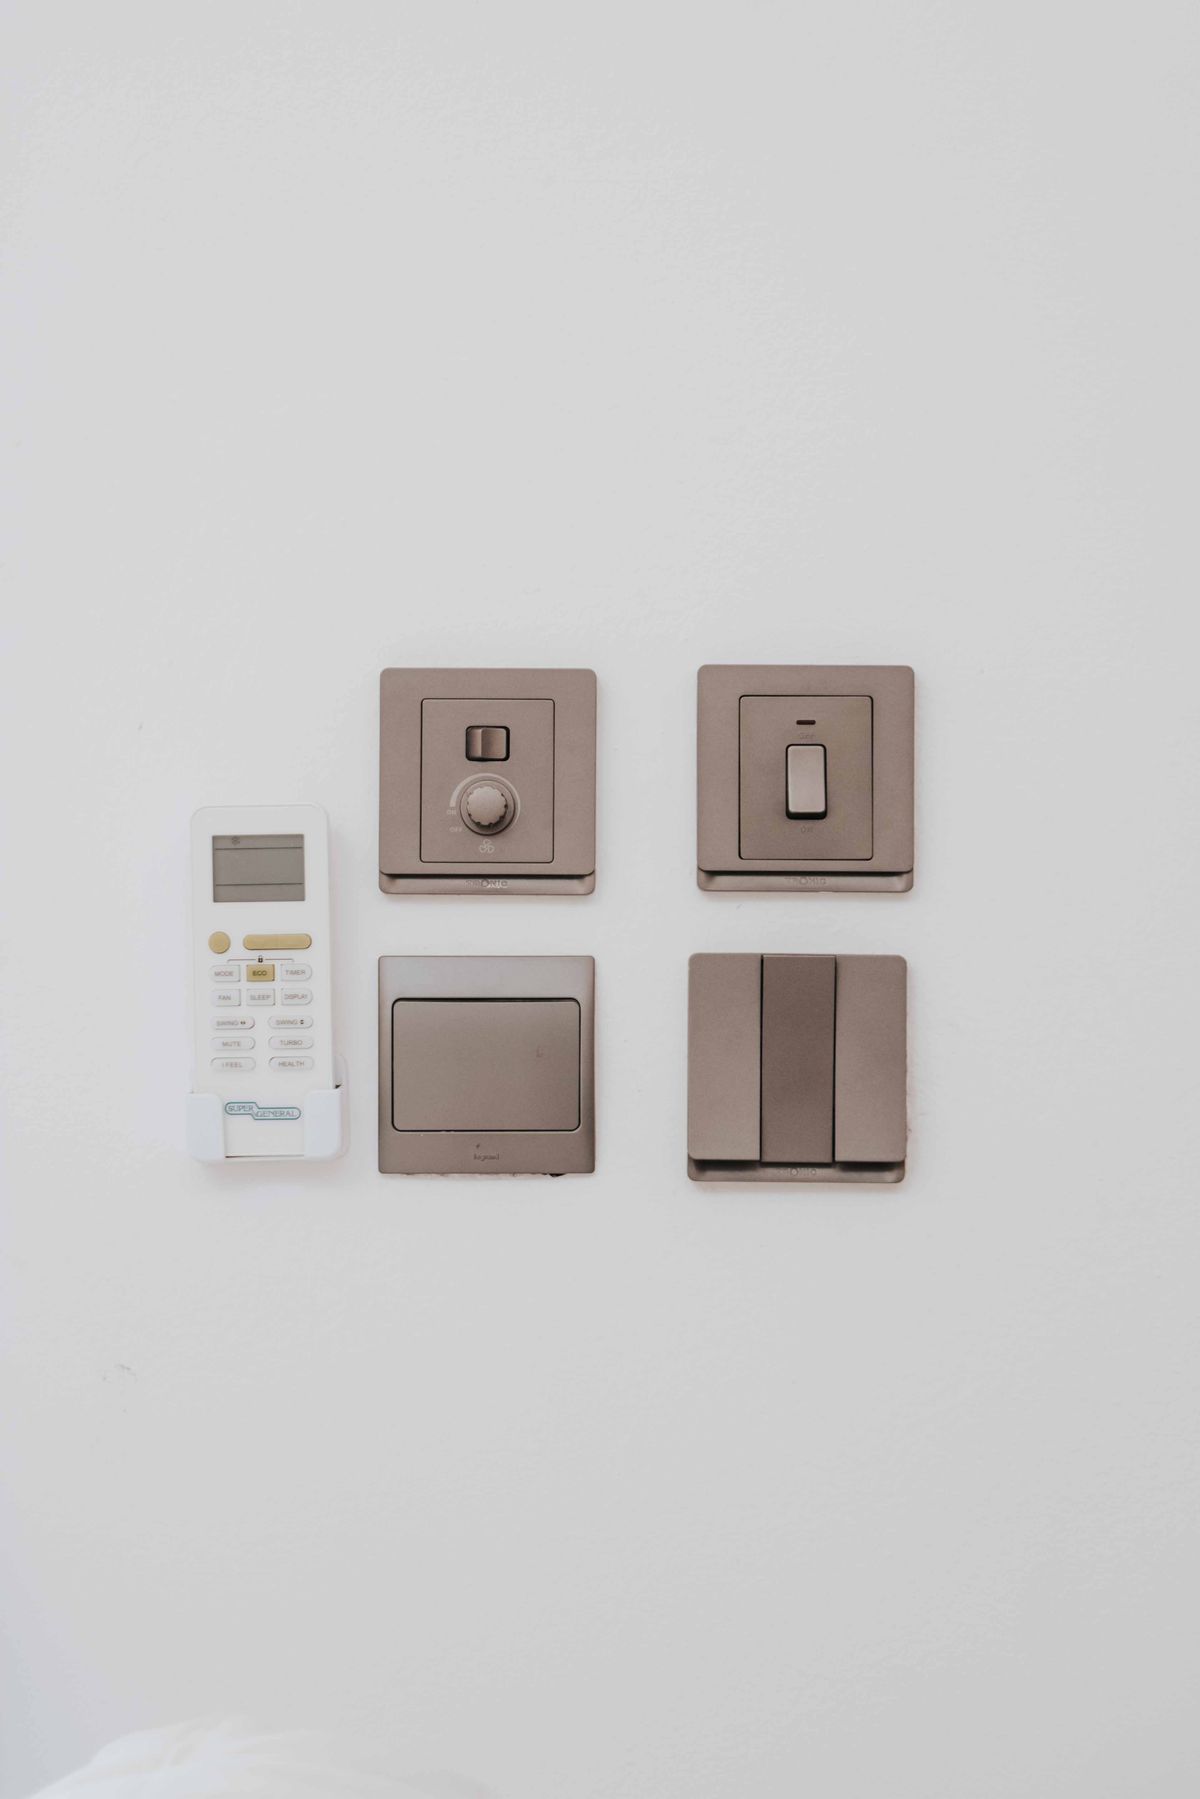
Photo by Keegan Checks, Pexels License
“Wall plate cable management” sounds like a niche term, but it describes a very ordinary problem: the outlet cover on your wall wasn’t designed to handle anything beyond covering the wiring, and every plug, adapter, and loop of slack cord around it is left in full view. A wall-plate-level fix addresses that directly, at the source, instead of routing cord elsewhere and leaving the outlet itself untouched.
Why the Outlet Is Often the Last Problem You Solve
Most cable management projects start with the visible mess — cords crossing the desk, hanging off the back of a TV stand — and work backward toward the wall. By the time you reach the outlet, it’s easy to assume the job is done, since the bulk of the clutter upstream is already handled. But the plate itself, and everything plugged directly into it, is still sitting there exposed.
What a Cable-Management Wall Plate Adds
Instead of a flat cover, it has a shallow enclosed cavity behind the front panel — enough depth to hold a plug head or two and a coil of extra cord — with a cover that closes over the opening. Products like the Refiner cable management outlet cover are built specifically around this idea: same footprint as a standard plate, same screw holes, but with somewhere for the mess to actually go.
Where It’s Worth Installing
Not every outlet needs this treatment. It earns its keep specifically where a plug and visible slack cord sit at eye level or in a frequently-viewed spot:
- Desk-height outlets behind a monitor or lamp
- Nightstand outlets with a lamp and charger
- Kitchen counter outlets with an always-plugged-in appliance
An outlet tucked behind a couch or dresser doesn’t need this — you’re solving a visibility problem, so only spend the effort where visibility is actually the issue.
Installation Reality Check
This is a wall-plate swap, not an electrical project. Turn off power to the outlet as a precaution, remove the two screws holding your current cover, and attach the new one using the same holes. No wiring is touched. If your outlet isn’t a standard single-gang size, measure before ordering — that’s the most common return reason for this category.