How to Paint-Match a Cord Hider Wall Channel So It Actually Disappears
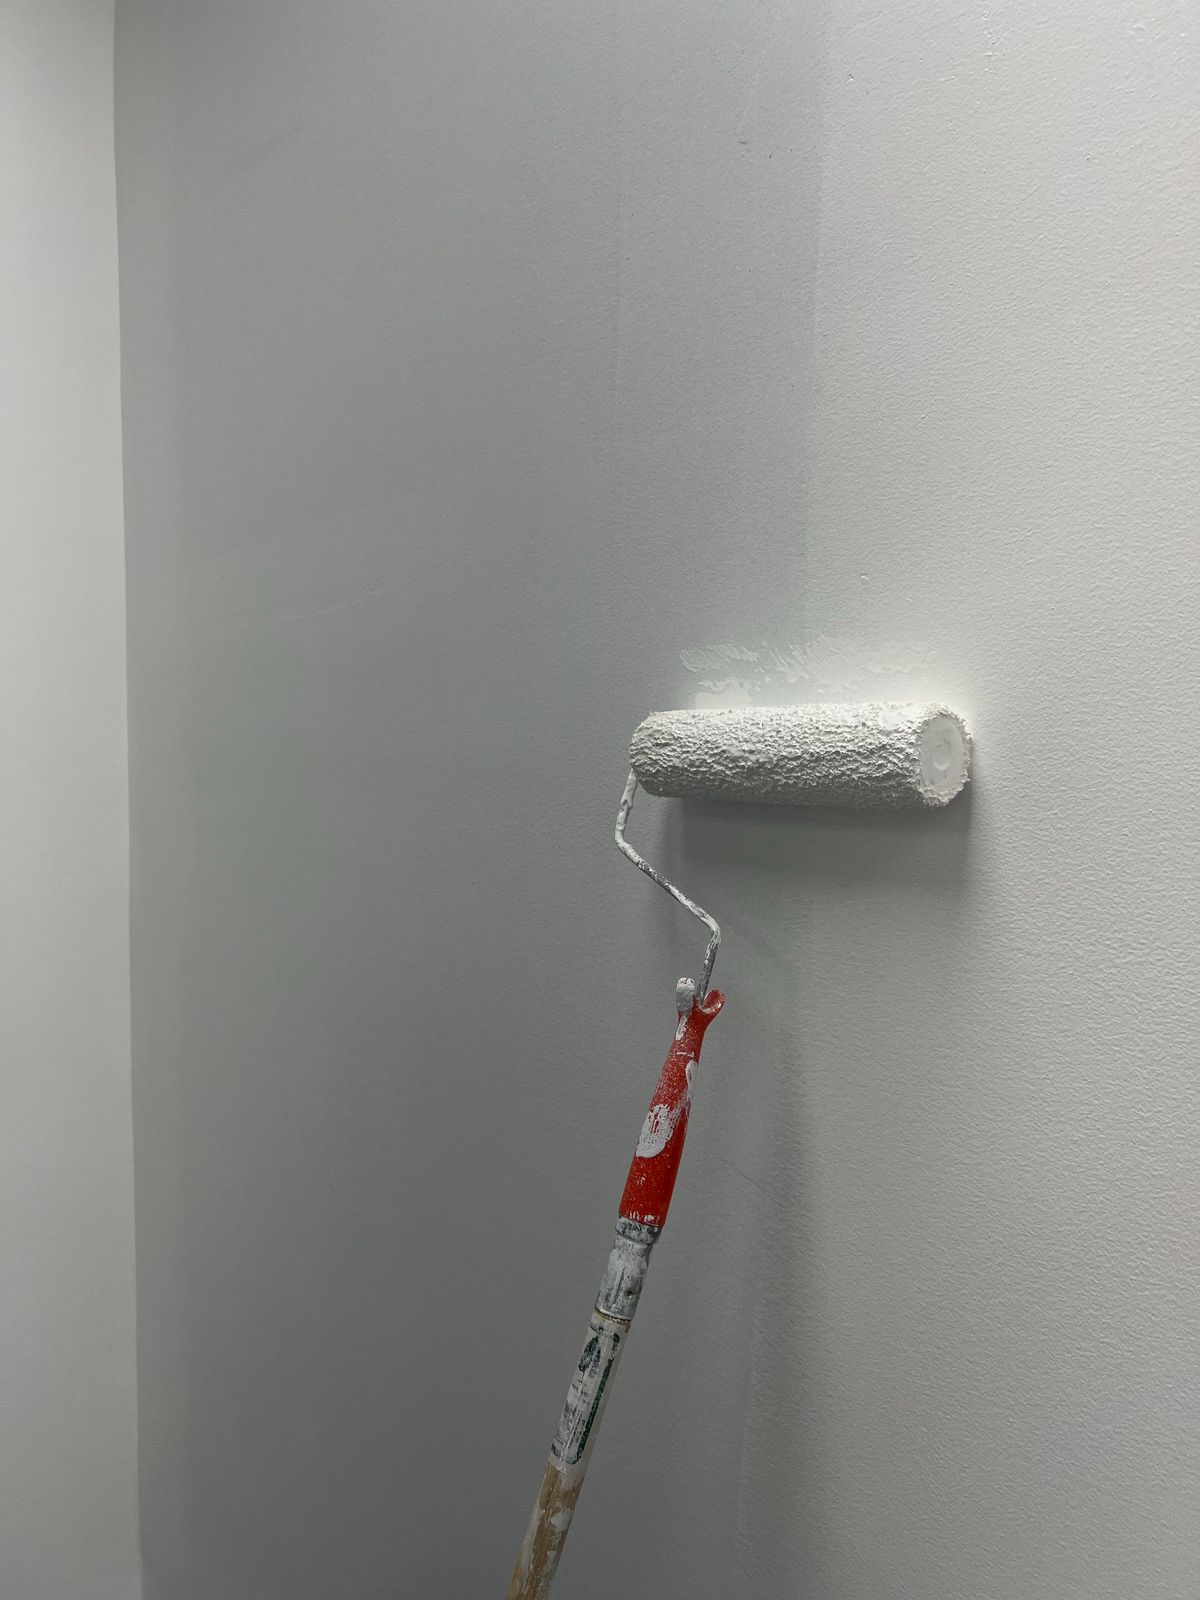
Photo by Natalia S, Pexels License
An unpainted cord hider wall channel is more distracting than the cord it’s covering — a bright white plastic strip on a colored wall draws the eye exactly where you didn’t want attention. Painting it well is a five-step job, not a guessing game.
1. Get the Exact Wall Paint
Bring a chip of the actual wall — or the paint can’s code if you still have it — to a hardware store for a color match, rather than eyeballing a “close enough” shade from a shelf sample. Paint that’s off by even a little reads as a visible seam once it’s dry.
2. Clean and Lightly Sand the Channel
Most channels come with a factory finish that paint doesn’t grip well. A quick wipe-down followed by light sanding with fine-grit paper gives the paint something to hold onto, which matters more for a plastic channel than it would for drywall.
3. Prime Before You Paint
A plastic-adhesion primer is worth the extra step even if the channel looks paintable straight out of the box — skipping it is the most common reason a paint job on plastic trim chips or peels within a few months.
4. Paint the Channel Before Mounting It
Painting it flat, off the wall, gives you an even coat without drips running down onto the surrounding wall. Let it fully cure before mounting — attaching a still-tacky channel risks smudging the finish against the wall.
5. Touch Up the Seam After Mounting
Once it’s up, a thin touch-up line where the channel meets the wall hides any gap between the two surfaces. This last step is what actually sells the “part of the wall” look — skip it and the edge is still visible even with a perfect color match.
The Result
Done properly, a painted channel reads as a wall detail, not an add-on. The steps take an afternoon; skipping any one of them is usually where a paint-matched channel starts looking like a paint-matched channel again.